By Mandy Beyeler on August 8, 2019
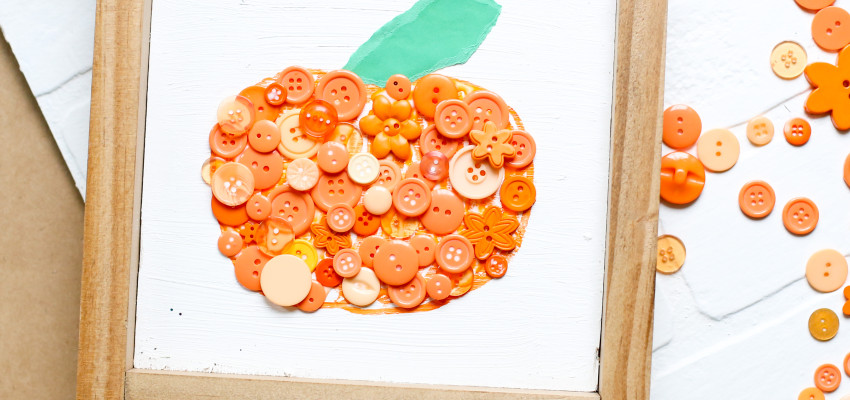
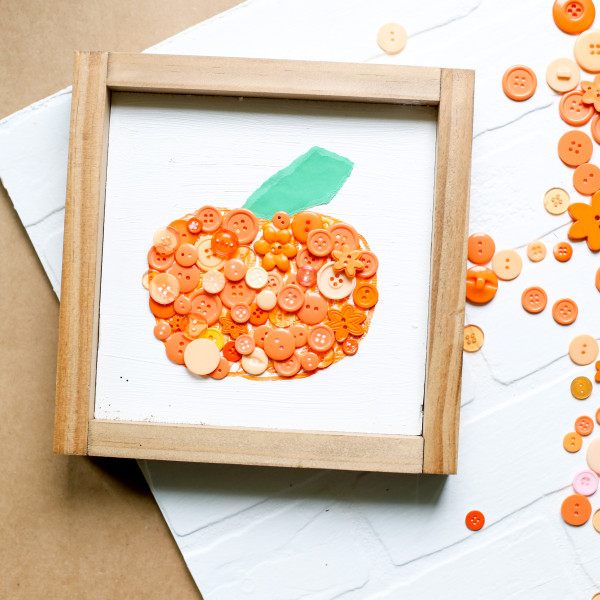
Kids Craft: Button Pumpkin
Falling leaves, apple cider and chilly evenings are great, but nothing says autumn like pumpkins!
YOU WILL NEED:
Cardstock or empty picture frame
Orange buttons
Orange marker
Green construction paper
Tacky glue
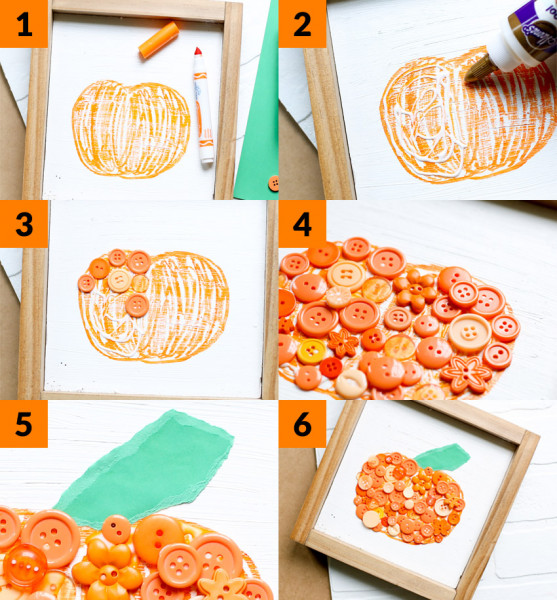
STEPS:
1. Draw a pumpkin and color it in. This way if there are spaces between the buttons, they'll be orange.
2. Cover a portion of the pumpkin in glue.
3. Attach buttons, starting with the larger buttons and filling in with smaller buttons. Repeat with other sections until entire pumpkin is covered.
4. Add a second layer of buttons. With the second layer, it works best to put the glue on the back of the button and then place it where desired.
5. Tear a stem shape out of the green construction paper and glue to the top of the pumpkin.
6. Display and enjoy!
 To see more Kids Corner craft and food ideas, find us on Pinterest at www.pinterest.com/ksfarmbureau. For more from Sugar Bee Crafts, visit www.sugarbeecrafts.com.

Mandy Beyeler
Mandy Beyeler is a craft and DIY blogger who loves to blog and enjoys all things crafty, sewing and DIY - she feels that if she can do something, you can too, and provides tutorials to help you along the way. She loves being a mom to four awesome kiddos... Read more