By Chef Alli on November 13, 2018
Cooking Techniques you Want to Know About
10 Uncomplicated Cooking Techniques That Are Truly Worth the Effort

Sometimes cooking is such an emergency, making dinner becomes all about survival. Getting something edible on the table for our hungry family is the entire focus; to heck with cooking “techniques” when every family member is starving, right?
But on the flip side of that dilemma, I’ve discovered that applying a few basic techniques improves not just the taste of the food I serve, but also the quality of our eating experience. And if I’m going to do the work of cooking, I want my efforts to pay off. I want my family to enjoy what I cook so they devour it. There’s no higher compliment than an empty pan.
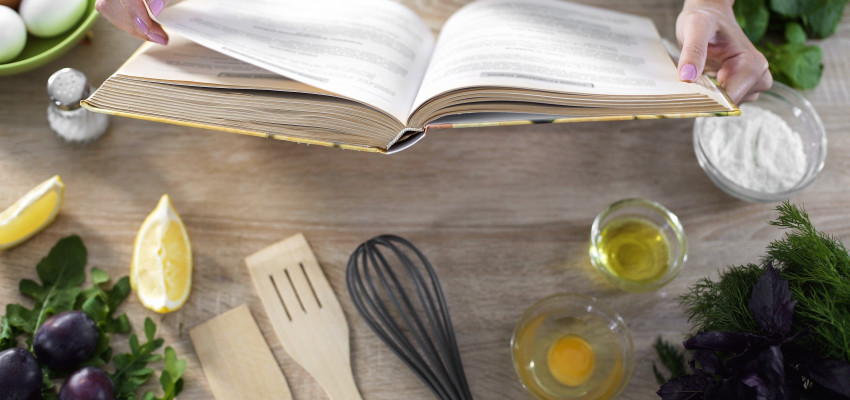
1. Always Read The Entire Recipe....FIRST!
What’s the best way to ensure you cook that new recipe perfectly, right out of the gate? Reading through the recipe FIRST. Yes, I realize it sounds a bit ridiculous to suggest this, but when we are excited about a new recipe and dive in head first, it’s easy to make mistakes. It’s far better to read through the whole recipe once or twice before you ever lift a finger. This not only gives us an idea of the pace of the recipe, but also a measure of which ingredients go where.
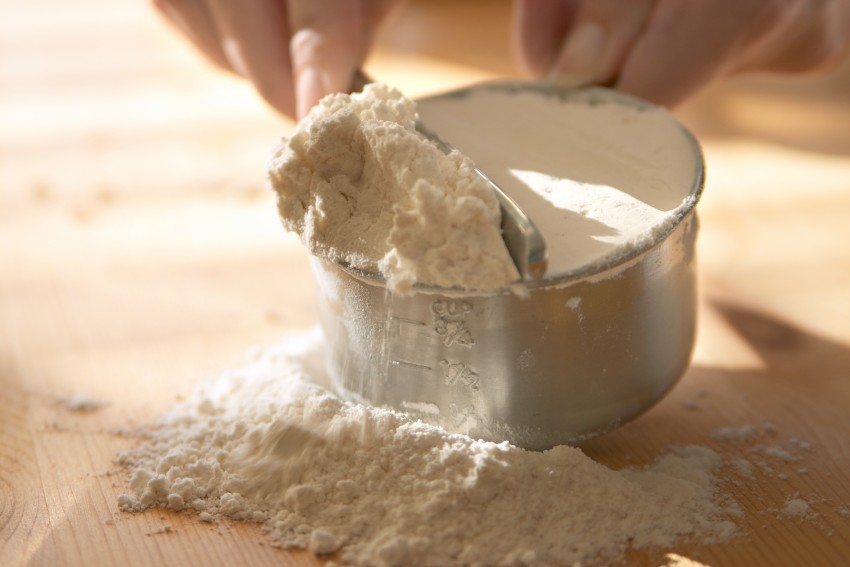
2. Be Precise When Measuring Dry Ingredients For Baking.
Because we are often in a hurry, it’s easy to get into the habit of just “eyeballing” ingredient amounts when we are cooking. This might work fine at dinnertime, but it’s a bad idea when it comes to baking. Dry ingredients should be measured with care and precision. For instance, if you typically just scoop flour into your measuring cup, then shake it off to level it, this is a great way to actually pack in more flour than you need. What we should actually do is lightly spoon the flour into our measuring cup, then use a knife to gently level the surface. You’ll be amazed at how much difference this can make in your favorite cake or cookie recipe.
3. Never Over-Soften Butter Again.
Are your chocolate chip cookies suddenly spreading out way too much on the baking sheet when removed from the oven? This could likely be because your butter was over-softened when you added the remaining ingredients for your cookie dough. Lots of recipes call for softened butter, but what exactly does that mean? You should be able to leave a dent when pressing on your butter with your finger, but the butter should still hold its shape. To accomplish this, let chilled butter sit out on your countertop for 30-45 minutes before baking to get the right amount of softening. Or, if you’re short on time, place the butter into your microwave and choose 30 percent power in 15-second intervals until the butter is softened, doing the finger test in between each blast.
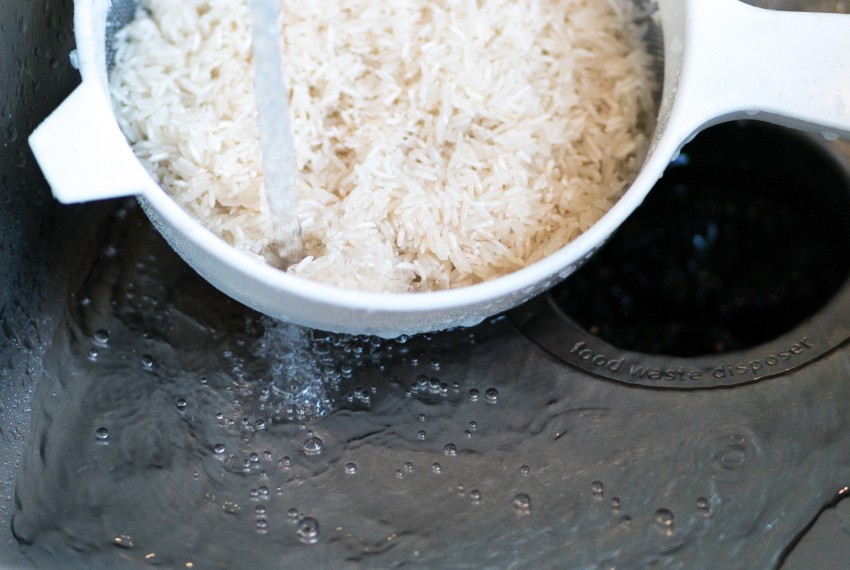
4. Rinse Those Grains.
Most dry grains (rice, quinoa, pearled sorghum, steel cut oatmeal, etc.) create a starchy powder as they rub against each other in their packaging. Once that starchy powder meets liquid, it often creates a sticky, gloppy mess. To eliminate this, place your uncooked grains into a fine mesh colander, then rinse well with cold water. This removes all that starchy powder, and after cooking, you’ll have perfectly cooked and textured grains.
5. Overcrowding Your Skillet Isn’t Cool.....Nor is it Hot (enough).
If I’ve said it once, I’ve said it a million times: “When it comes to cooking, brown is not a color, it’s a flavor.” An overcrowded skillet leads to foods that are “steamed” instead of “browned” and these are two very different things. Good browning is attained when there is room for heat in your skillet to circulate around each piece of meat. Cooking in batches is the answer. This allows for the heat distribution needed to get that good browning and caramelization we desire. Or, bring out a second skillet if you’re in a hurry.
6. If You Must Play With Your Food, Wait Until It’s On Your Plate.
Does impatience at the stove give you the inability to leave food alone while it cooks? Just like overcrowding our skillet can prevent the browning and caramelization we desire, the need to turn, poke, prod and flip creates the very same dilemma. Instead, let your food do its thing in the skillet, waiting (patiently!) until you can easily slide a spatula beneath it. When this happens, it’s the signal that your food has released itself from the pan, and is ready to flip.
7. Pre-Heat! Pre-Heat! Pre-Heat!
I can’t say it enough. And this goes back to tip #4: “Brown is not a color, it’s a flavor.” So if your skillet (and the fat in your skillet) isn’t hot when the food hits it, you don’t get SIZZLE....you get FIZZLE. Sizzle creates browning, and browning creates caramelization, and caramelization is where all the flavor comes from. That said, add your oil to the skillet and let it heat up for a few minutes. Now do a test by dropping in a tiny piece of whatever you’re cooking. Do you immediately hear sizzle? If so, it’s hot enough for proper cooking and you’re good to go.
8. Don’t Under Estimate the Power of Beauty Rest.
Beauty rest is important before and after cooking meats.
Before: Food safety practices have taught us the importance of keeping meat chilled, so we often don’t take it out of the fridge until we’re ready to cook. But throwing a refrigerated steak onto the grill yields us nothing but an overcooked exterior and an undercooked interior, leading to a very disappointing eating experience. Instead, remove your meat from the fridge and set it on your countertop for about 30 minutes before you begin cooking. This allows the fats and juices that are coagulated at the chilled center of the meat to relax a bit, distributing themselves to the outer portions of the meat, which allows for better cooking.
After: Once we grill, roast or sear meat, we need to give it a few minutes to rest before slicing it. “Resting” your meat allows the juices (which move to the center during cooking) to be redistributed throughout the muscle. Allow smaller cuts of meat like chicken breasts, pork chops and steaks to rest for at least five minutes. Larger items like a turkey or a pork butt may need 20-30 minutes of beauty rest after cooking. Tenting your cooked meats with a foil covering also helps keep the meat surrounded by the heat, allowing it to finish cooking a bit as it rests.
9. Cool it With the Carry-Over Cooking.
“Carry-over cooking” refers to how food continues to cook after you’ve removed it from the heat source, due to the heat that is still retained inside the food. Carry-over cooking usually only lasts for a few minutes (unless you encourage it to last longer by covering the food) but that time can be disastrous for veggies. If you’re taking cooked veggies out of the pot when they are already perfectly tender, you can avoid carry-over cooking by putting them directly into a bowl of ice water. The “shock” of the cold water will stop the cooking process in its tracks, and you won’t be left with mushy, overcooked (disappointing!) vegetables.
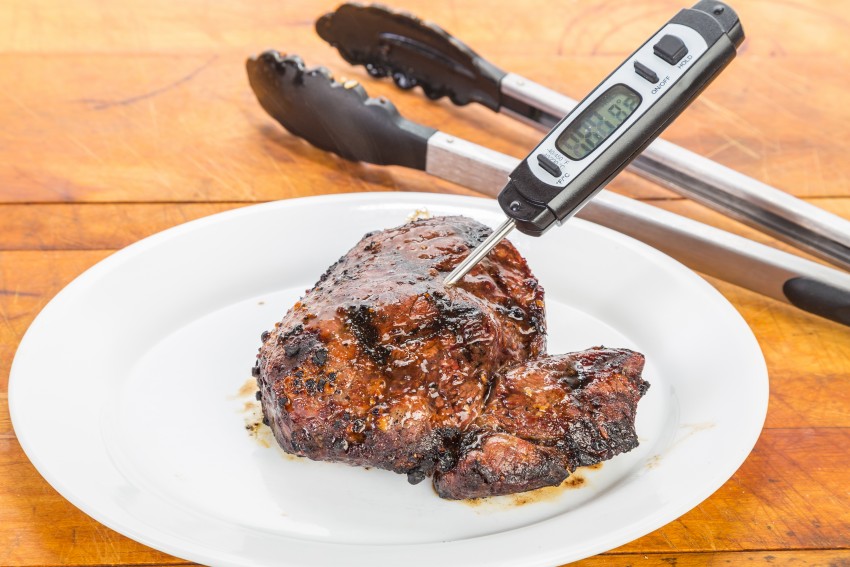
10. Get an Instant-Read Meat Thermometer, Then Learn How to Use It.
Estimating whether a ribeye or a chop is done is one thing, but if you’re roasting the Thanksgiving turkey, nobody wants to guess whether or not it’s done. And while that turkey appears to be fully cooked on the exterior, being able to measure the internal temperature is an absolute must. Using an instant-read thermometer also helps us from over-cooking foods as well, since the experience of overcooked, dried-out meats isn’t fun either, not to mention a huge waste of our resources. One of the best uses of an instant-read thermometer? Temping oven-baked casseroles. When the timer sounds, your casserole looks hot and bubbly around the edges, but what about at the center? Just insert your trusty instant-read thermometer to see if it’s the perfect 160 degrees for a safe and hot meal.


