By Ariean Krieger on July 22, 2016
Namesake Pillow
Personal Pillow DIY

Hello Friends! Hope you're all having a great summer and staying cool through this heatwave. Today, I'm excited to share a little project perfect to work on inside. For less than $10 (and a little bit of your time), you can create a personal and budget-friendly pillow to display in your home or give as a gift.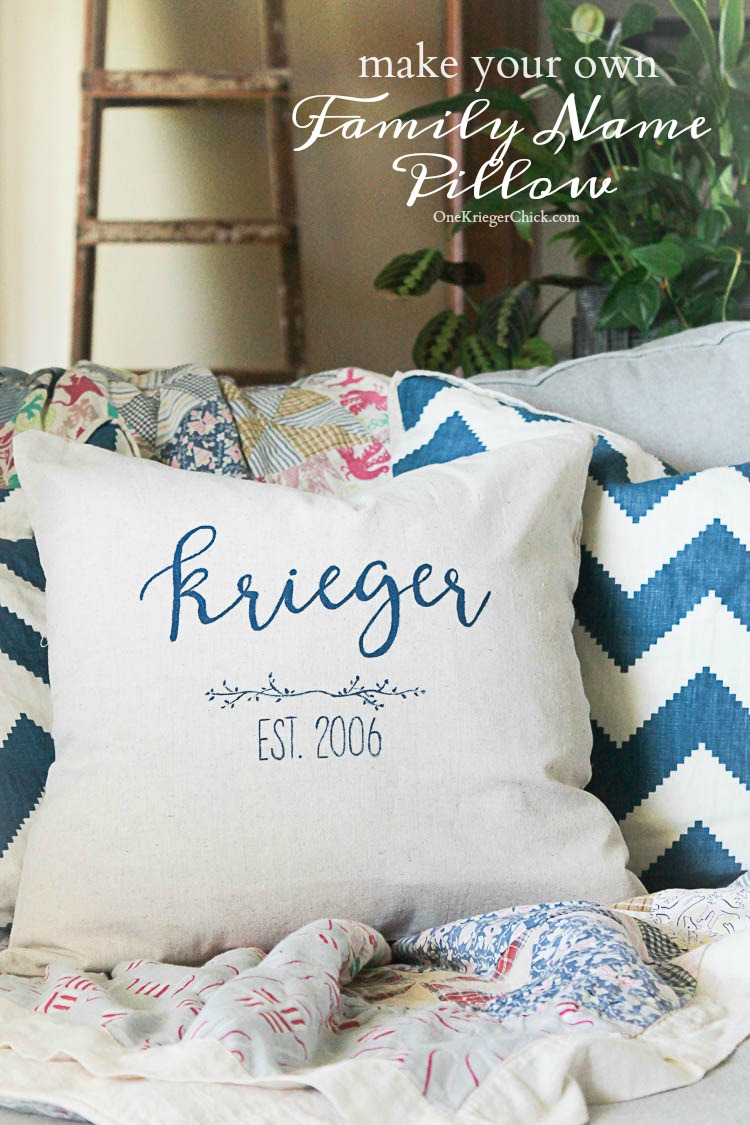
Hand lettering is all the rage these days, but not all of us are in love with our own handwriting or know how to write in calligraphy. It takes a lot of time and practice to perfect, so I'm going to show you how you can get the perfect look of hand lettering the easy way. Let's get started...
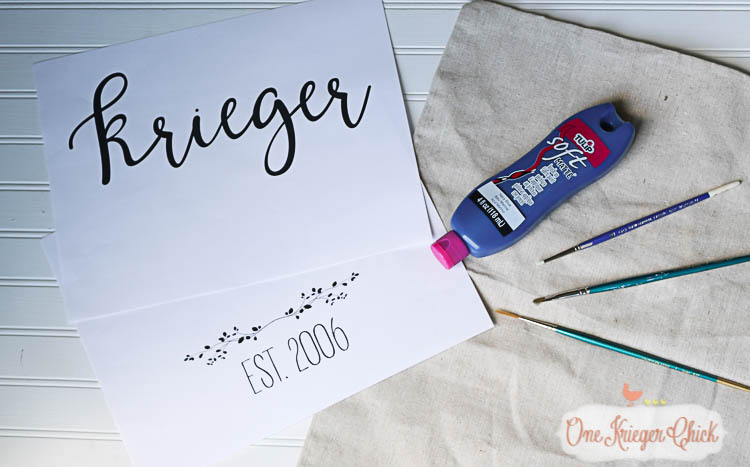
You'll need to gather up the following supplies...
- printed name
- pencil
- tape
- fabric paint (found at most craft stores)
- fine tipped paintbrush
- blank 20" pillow cover (homemade or store bought- mine is from Hobby Lobby)
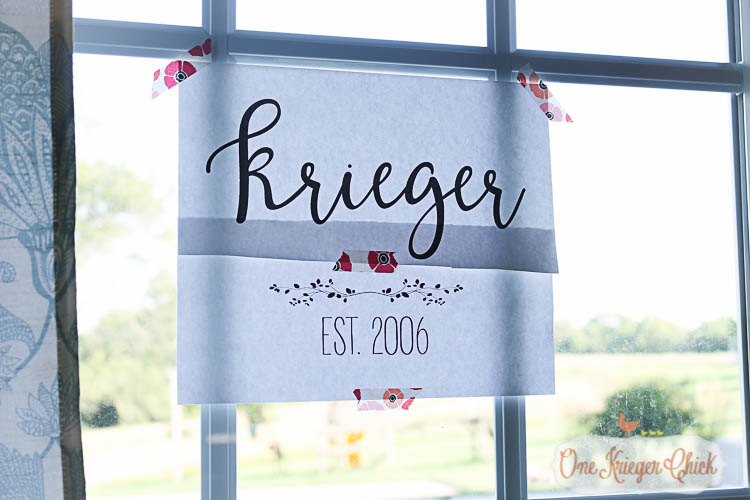
Start by printing off the name you would like to see on the pillow. I just printed mine in word using one of my favorite handwritten fonts. You'll want to center the word, enlarge it as large as it will all fit on the paper with about a 1/2 inch on right and left margin and adjust the margins to narrow. Depending on the font, the letter size may be 250-350. When you print, an error message may pop up stating that your margins are too small, but print anyway. On a separate page, I added an embellishment and date. These can be found on the free website PicMonkey. Trim the pages and tape together.
Originally, I taped it directly to the window, then layered the pillow cover on top of it- also taped to the window. Due to the zipper on the pillow cover, I couldn't see the lettering as clearly as I liked. You may have this dilemma too, so here's my solution: tape the paper inside the pillow cover, then tape the pillow cover to the window. Worked perfectly!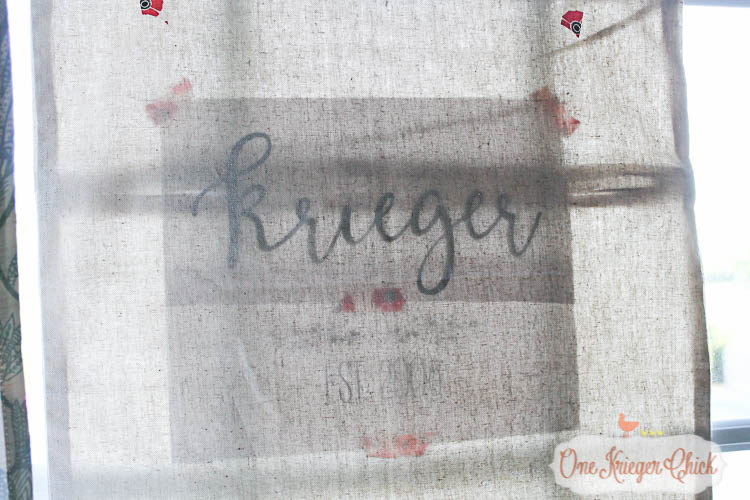
Use a pencil to trace over the outline of each letter. It may not look like the pencil lines will show up clearly, but they will.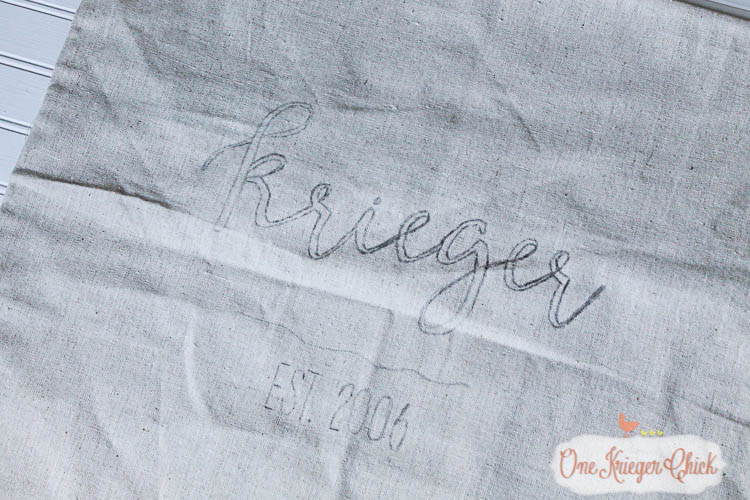
The detail is really clear even on a linen-colored pillow cover.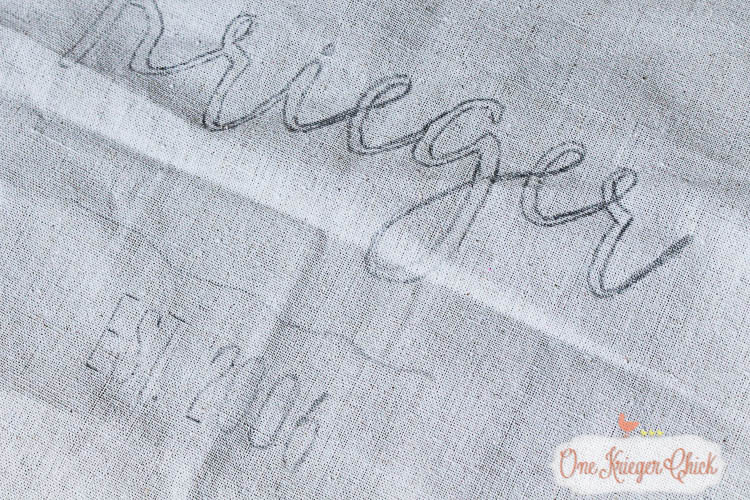
Using a fine tipped paintbrush, paint inside all of the pencil lines.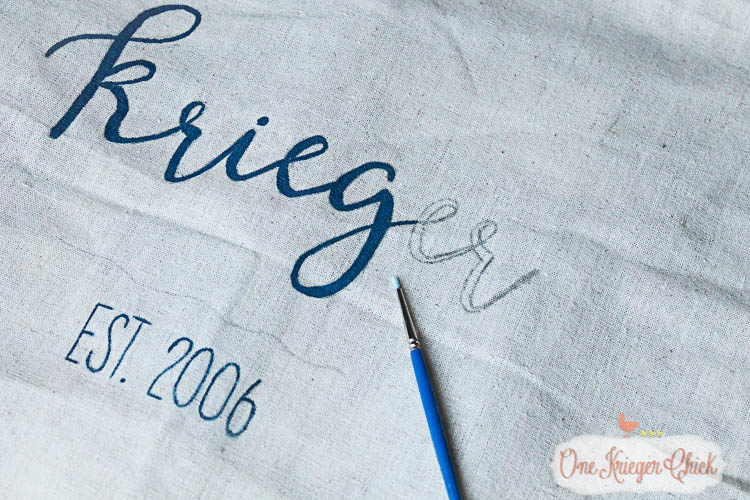

Now for the detailed embellishment...It's easier than it looks, I promise. Start by painting a thin line.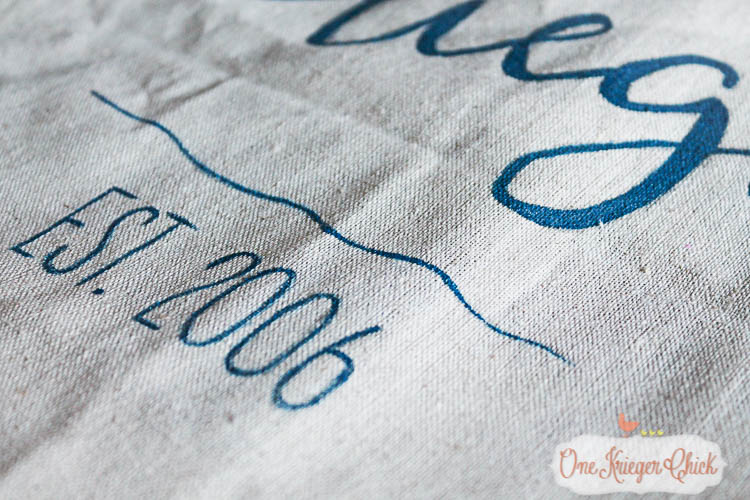
Add a few branches. It does not have to look exactly like the original design. I simplified mine with less detail.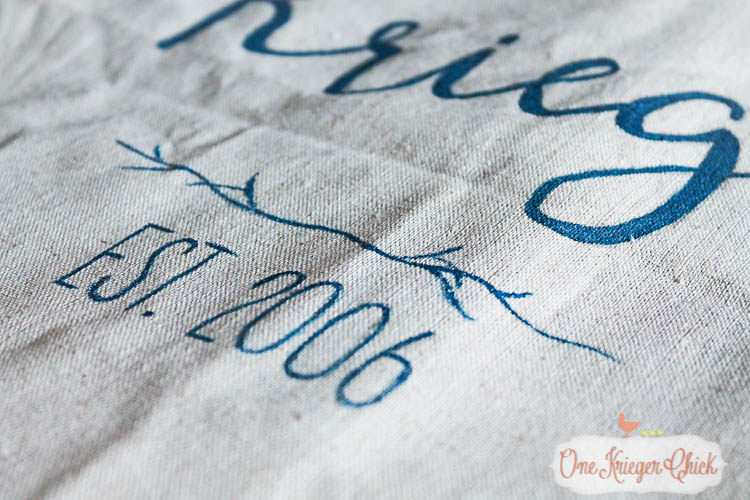
Then, add some leaves. These are simply little strokes of the brush. Don't make it hard. Add as few or as many as you like.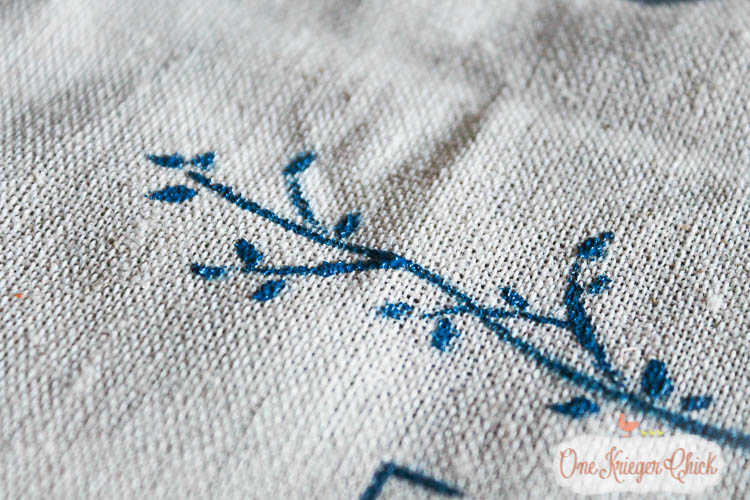
Read the instructions on your fabric paint - some recommend heat setting after the paint dries. 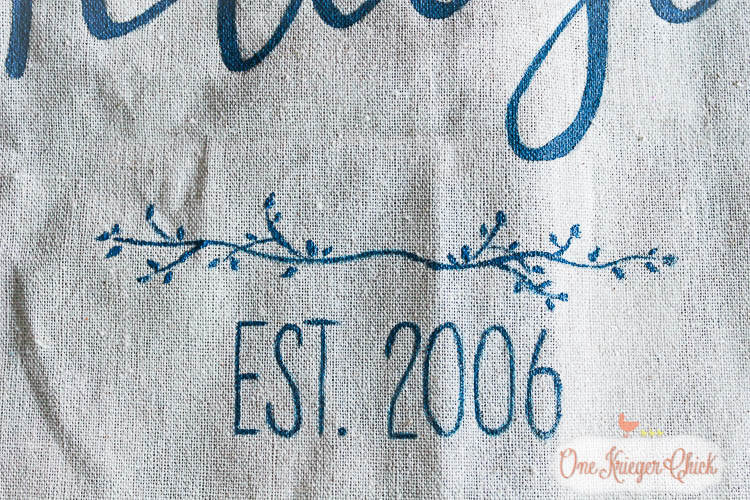
When the paint dries, insert a pillow form (mine is from IKEA).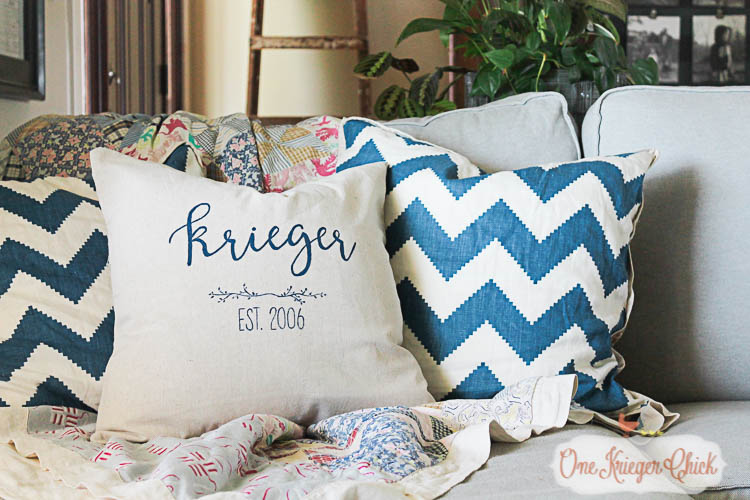
Add it to your own home decor or make a few as gifts. It would make a perfect wedding or anniversary gift. 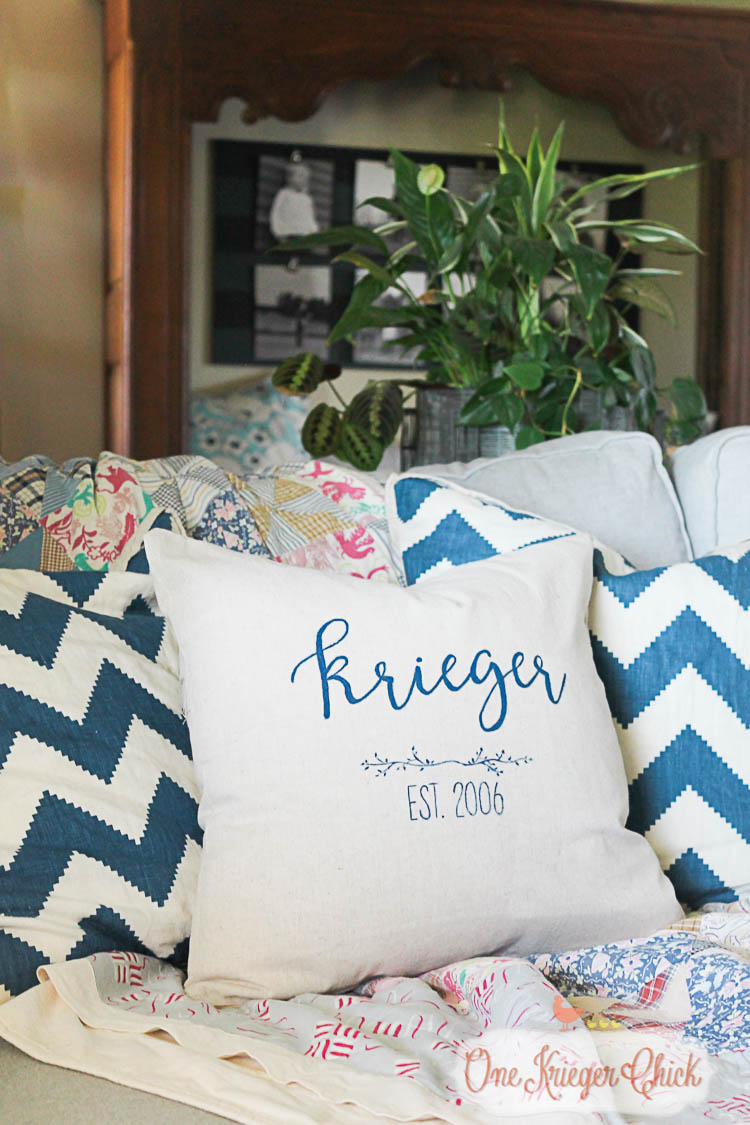
Hope this has inspired you to create something beautiful for your home. For other budget-friendly home decor projects, I'd love to have you stop by my blog OneKriegerChick. Search 'pillow' for similar projects.

