By Kansas Living on May 25, 2016
Ice Cream in a Bag

Yes, the potential for a mess seems high, but you’ll be surprised at the good, “clean” fun you’ll enjoy with your students or kids when you make ice cream. Plus, the lesson possibilities for this activity are nearly endless. Explore the history of ice cream and dairy products; the chemistry of ice, salt and exothermic reactions; or use it as an exercise in the scientific method: What if you make the following recipe without salt?
You Will Need:
- 1 cup milk
- ½ tsp. vanilla
- 2 Tbsp. sugar
- 4 cups crushed ice
- 4 Tbsp. salt (rock salt or kosher salt works best, but table salt will do)
- 2 quart-size Ziploc® freezer bags
- 1 gallon-size Ziploc® freezer bag
- A hand towel or gloves to keep fingers from freezing
PLEASE NOTE: This recipe makes a single serving.
Instructions:
-
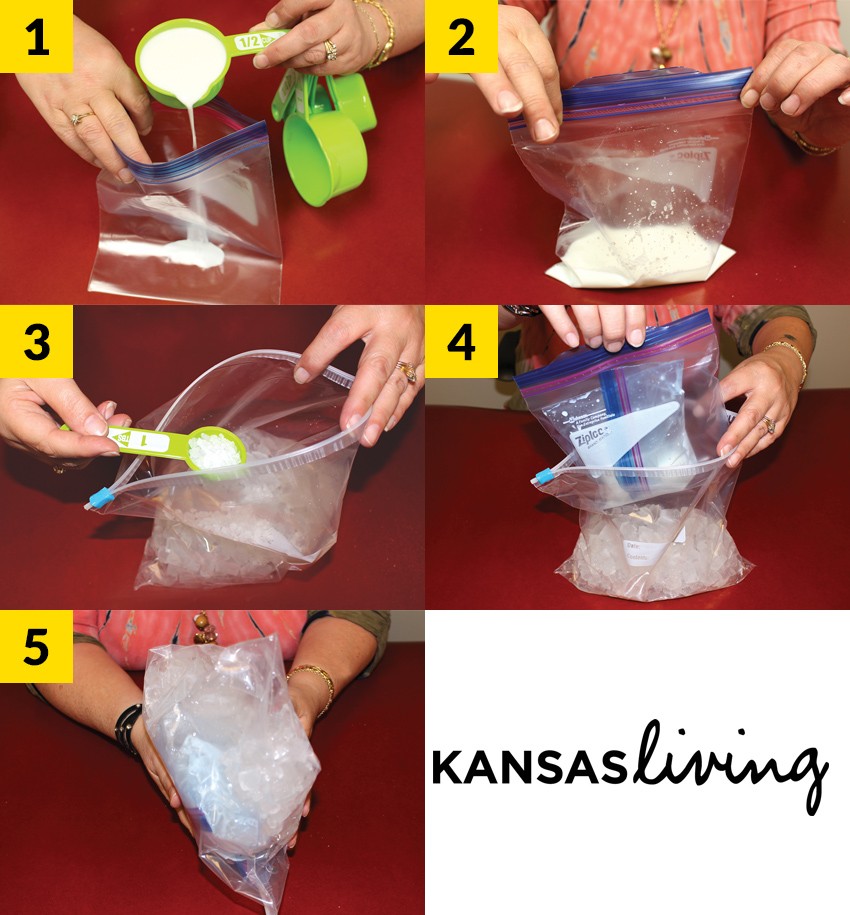
Combine the milk, sugar and vanilla in the quart-sized freezer bag. Stir it or squeeze the bag until you get an even consistency and sugar is dissolved.
-
Seal the bag tightly and squeeze out any extra air. NOTE: If you aren't using freezer bags, double bag to prevent leaks. (It may take a bit longer for the ice cream to freeze.)
-
Place the ice into the gallon-sized bag. Add salt. It should be about half full.
-
Place the sealed quart-sized bag into the salt and ice mixture. Squeeze out any extra air in the larger bag and seal it tightly, too.
-
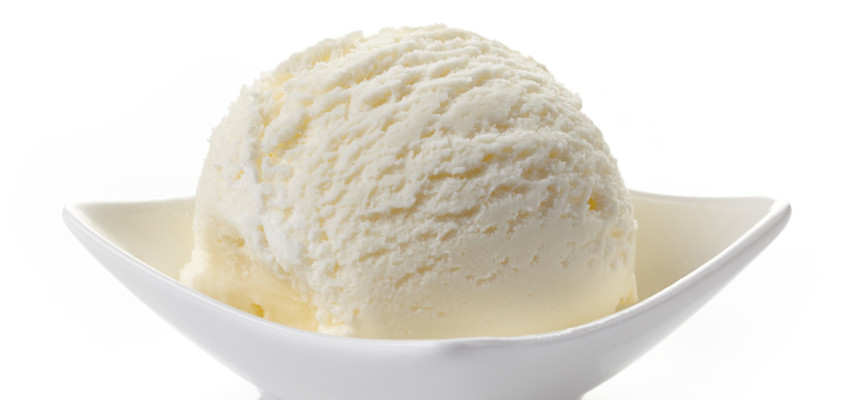
Wrap the bag in a towel or put gloves on. Shake the bag for 5-10 minutes, massaging the bag to make sure the ice surrounds the cream mixture. When it’s ready, enjoy your ice cream in a cone or bowl, or right out of the bag!
 Looking for more fun projects that are dairy related? Check out Kansas Farm Bureau's book, "Milk Comes from a Cow?" and don't miss the fun projects and lesson plans.


