By Ariean Krieger on October 20, 2015
Happy Harvest
Welcome fall with this fun and easy craft project
Hello there! I'm Ariean, visiting from the blog One Krieger Chick, where I share family friendly recipes, kids crafts, home decor...basically all about my creative adventures between trying to keep up with my three little boys. I love old stuff and I especially love the chance to re-purpose old stuff into really fun decorative pieces.
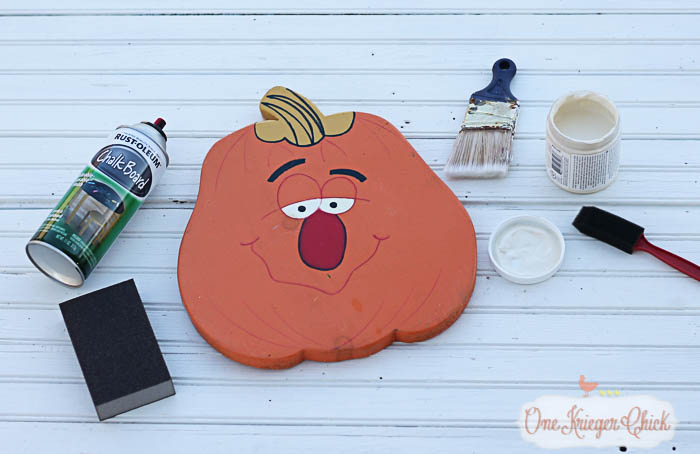
Here's what I started with...
- A wooden pumpkin
- Chalkboard spray paint
- Cream color chalk paint
- Sanding block.
I'll share the other supplies I used along the way.
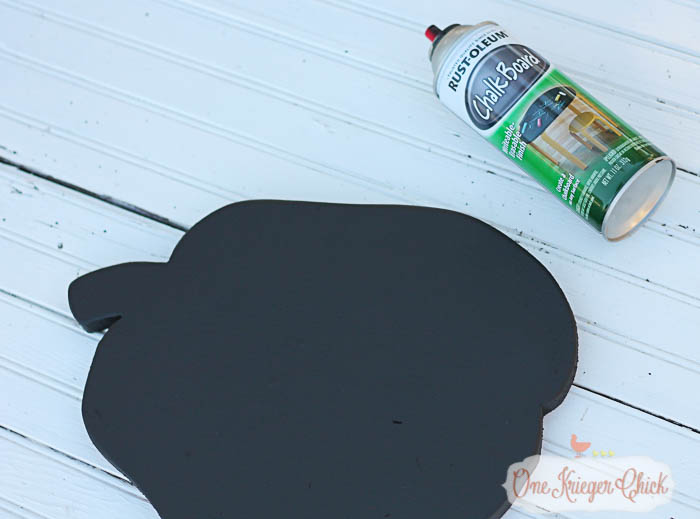
Now, I don't expect all of you have a funny face pumpkin decor sitting around like I did. Not to worry- you can cut a pumpkin shape out of wood, or use an 8-10 inch wide piece of scrap wood. Whatever wood you use, sand it down a bit. Wipe off all the sanding particles and give one side of the board two light coats of chalkboard spray paint. I spray one direction the first time, then go over the first coat in the opposite direction for the second coat.
Once the chalkboard paint is dry, flip the board over and paint the other side with cream colored chalk paint. Any cream colored paint will do- I happened to have this color on hand and really like the coverage of chalk paint. I applied two coats to achieve the desired coverage.
Now for the most time consuming part of the entire project- applying the stencil. One of the most common questions I get about crafting is "How can I make cute signs if my handwriting is bad?"
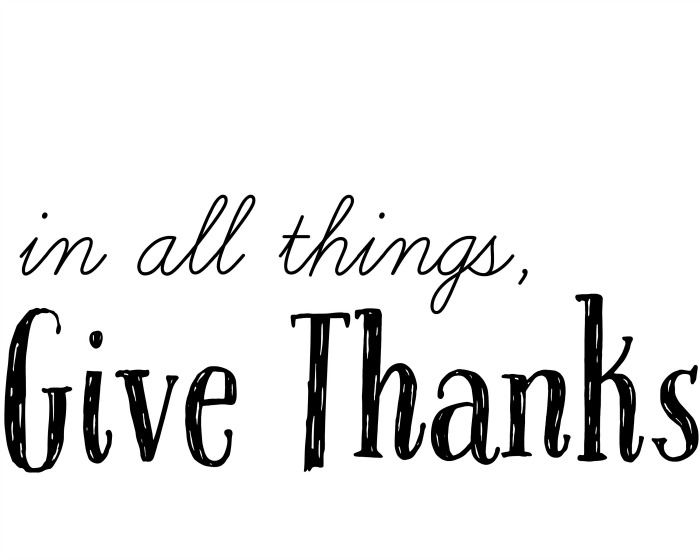
Well, here's one of my tricks for faking good handwriting...templates are included too!
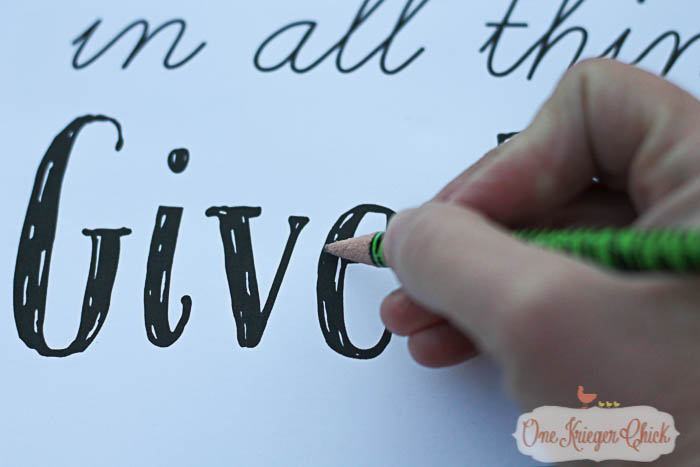
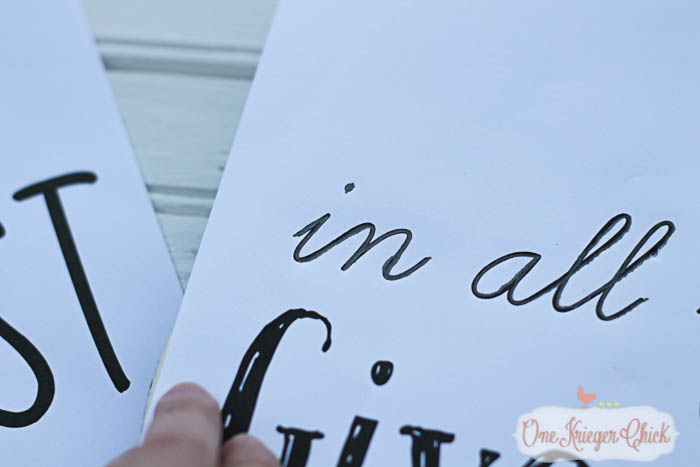
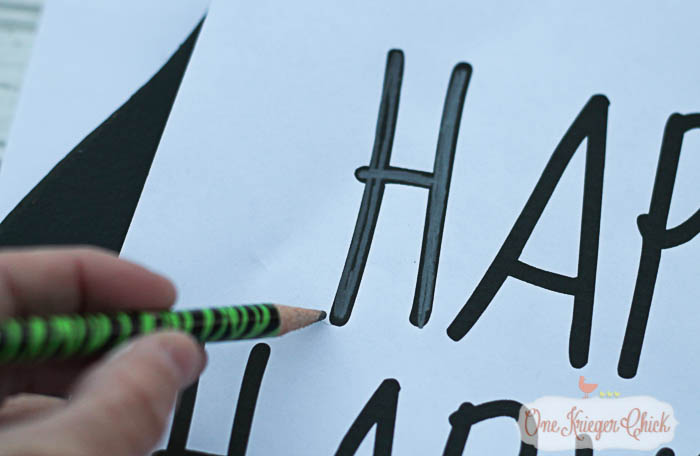
Print off the word or words you would like to apply to your sign. I used a free website called picmonkey.com to design these to fit the pumpkin. The templates will also fit a 8-10 inch wide board. Tape the template to the background, then press very firmly over each letter. If a pencil does not add enough of an impression into the wood, use a ball point pen.
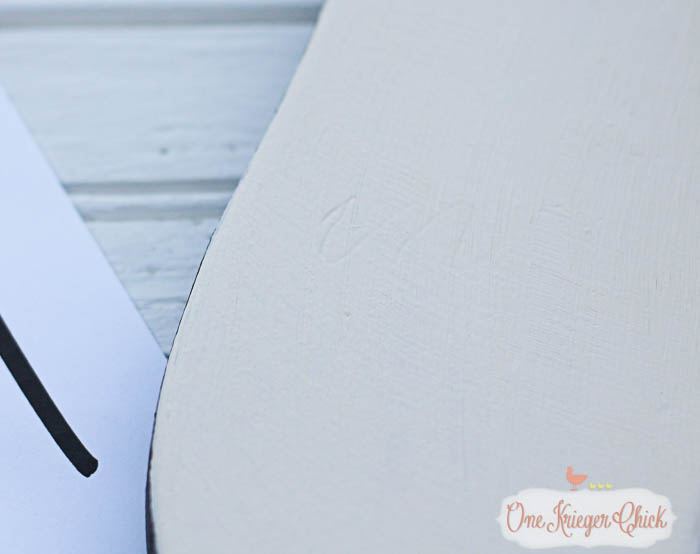
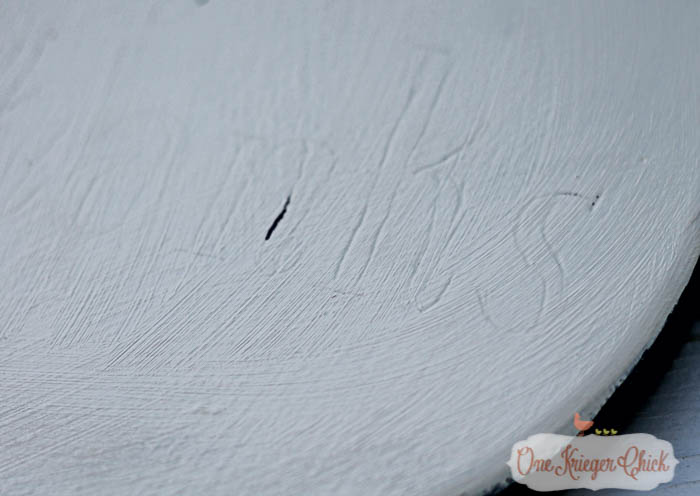
It should leave an impression in the wood like this.
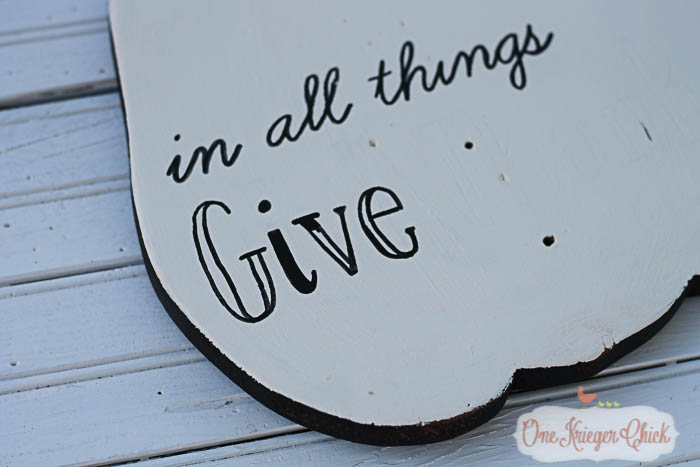
Next, trace over the impression with a permanent black marker. I used a chalk marker, but any permanent black marker will be perfect. I traced over the black lines twice.
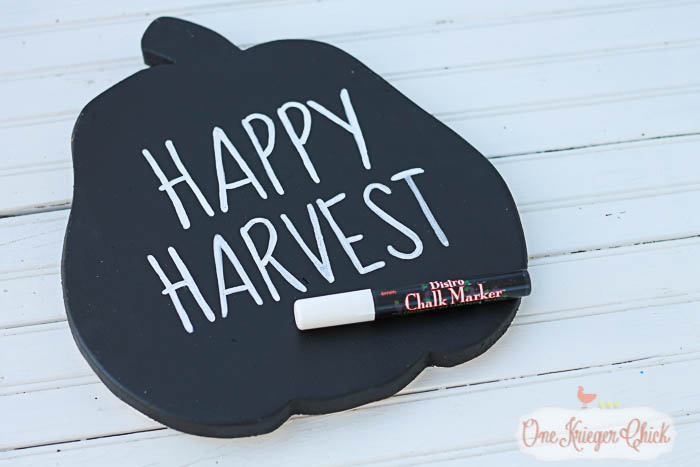
For the chalkboard side, I went over the impression with a white chalk marker. I also added a little detail, which can be seen in the final project.
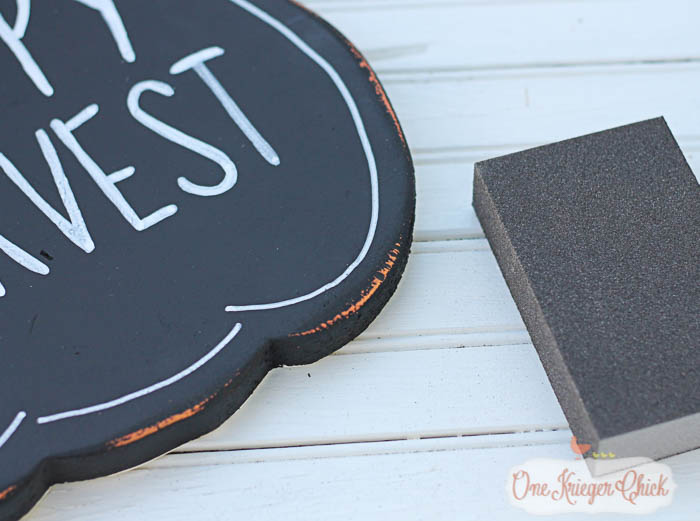
I wanted a little more aged look, so I sanded the edges of both sides of the sign with a sanding block.
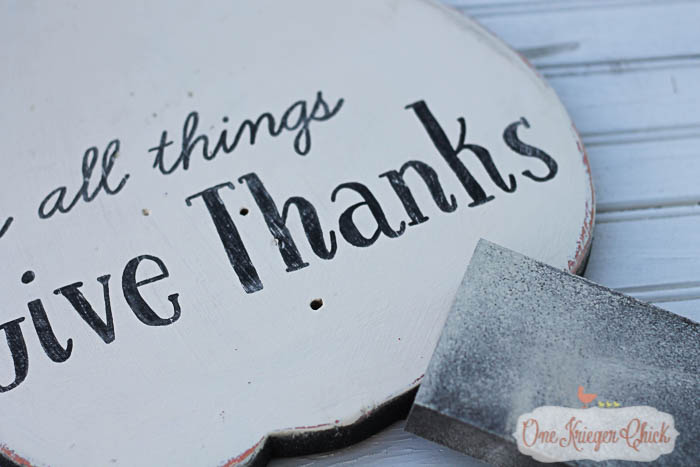
On the Give Thanks side, I lightly sanded over the lettering too...
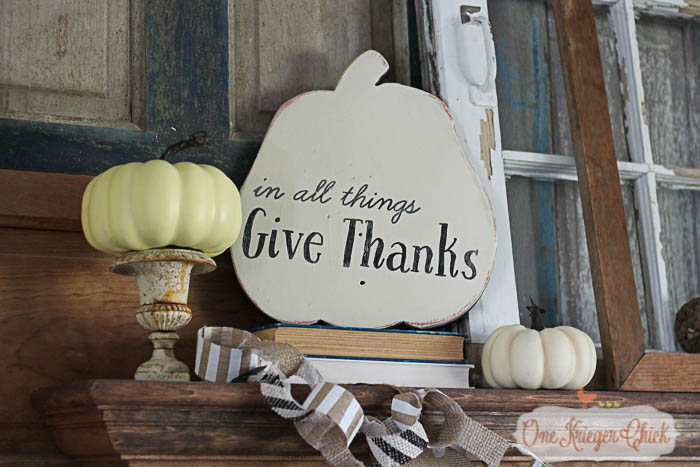
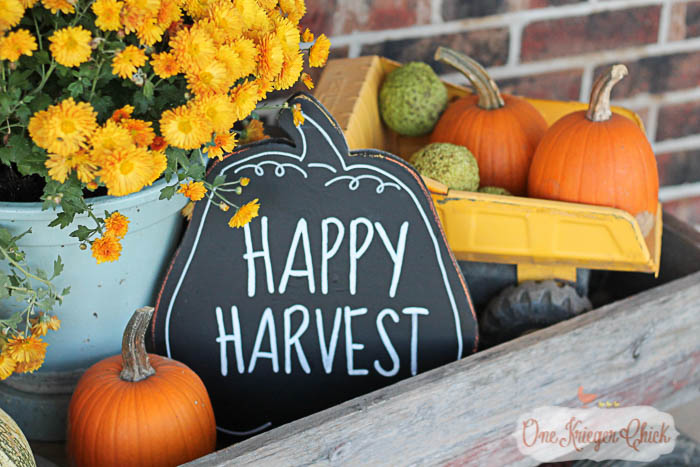
Wipe the dust off and that's it! Perfect on display with some pumpkins...
A great addition to any mantel...
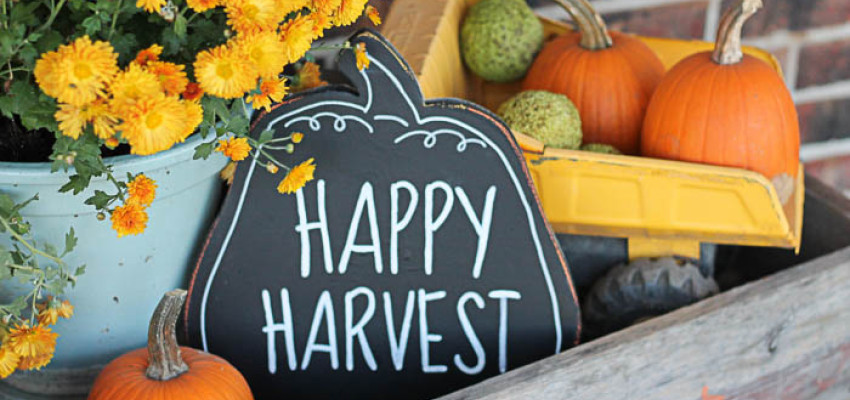
Or a darling little sign on the porch...either way, It can be used as decoration all fall.
See how I added an outline around the pumpkin? If you paint a board, drawing an outline like this would give the board the illusion of a pumpkin shape. The perfect touch to any front porch. If you'd like to use the templates featured, download these, print them off and use as shown.
If you liked this idea, I would love to have you stop by and visit me at One Krieger Chick sometime. Have a happy fall!

