By Ariean Krieger on January 19, 2016
Window Watching
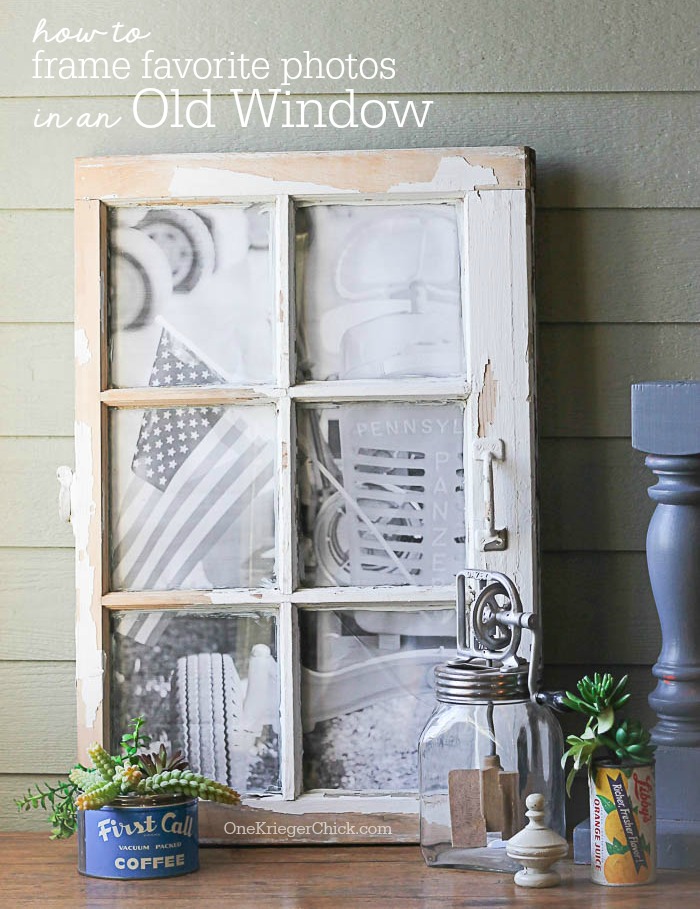
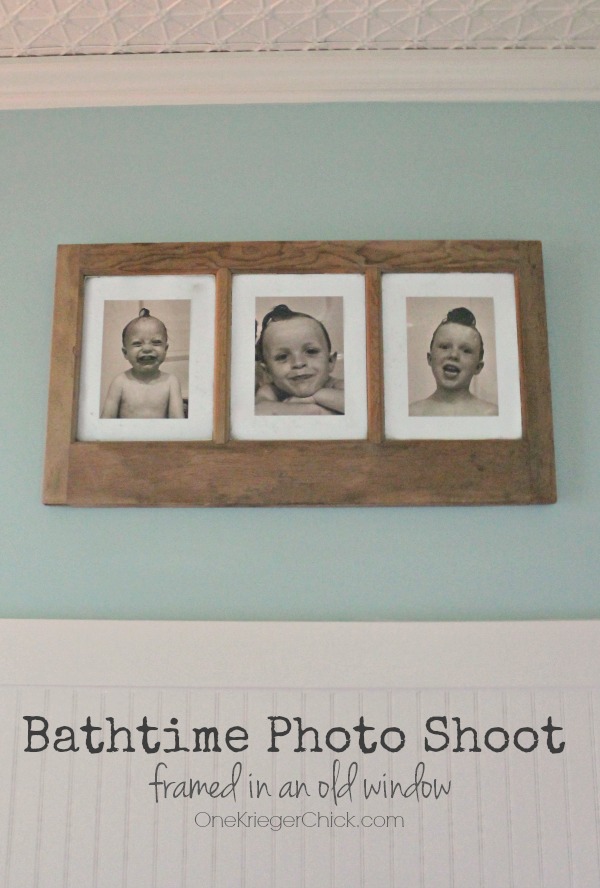
Use an old frame to showcase your favorite photos

Hello Friends! It's Ariean from OneKriegerChick visiting again to share a fun and easy home decor project using an old window. I love displaying favorite photos around my home...family photos, photos with memories, places we've been. Sometimes it's fun to switch it up a bit...
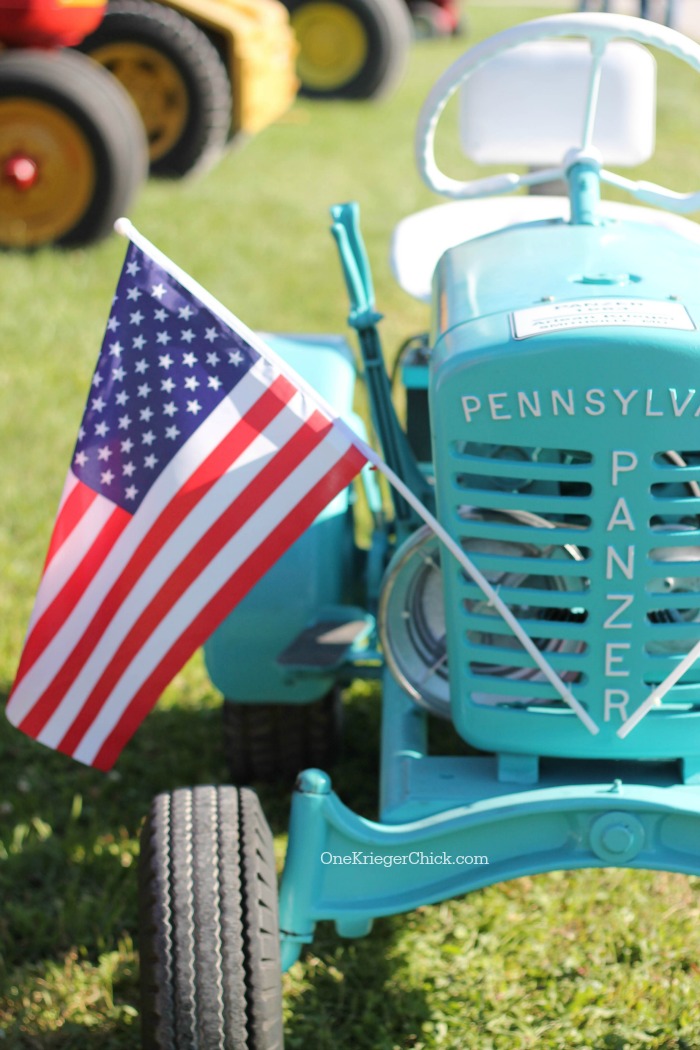
I definitely have a thing for black and white photography. I love being able to group many photos together that may not look good together in color. Plus, sometimes you may not like a photo at all in color, but love it in black and white. For example, an impromptu family photo where no-one coordinates...black and white will tie it all together. For this project, I'm using a favorite photo of my little tractor that my grandparents-in-law gave me last summer. Here's what it looks like in color.
Love, love it like this, but thought it would be a fun addition to the walls in my mudroom in a larger size. Printing large color photos can get pretty pricey, but printing over-sized black and white photos is very inexpensive. I ordered this print online as a black and white engineering print from Staples for only $1.99! Wow, right!? Let's get started on the project...
Supplies needed:
- Old window (this is from the house I grew up in)
- Over-sized black and white engineering print (from Staples)
- packing tape
- double sided tape (permanent)
- butcher paper
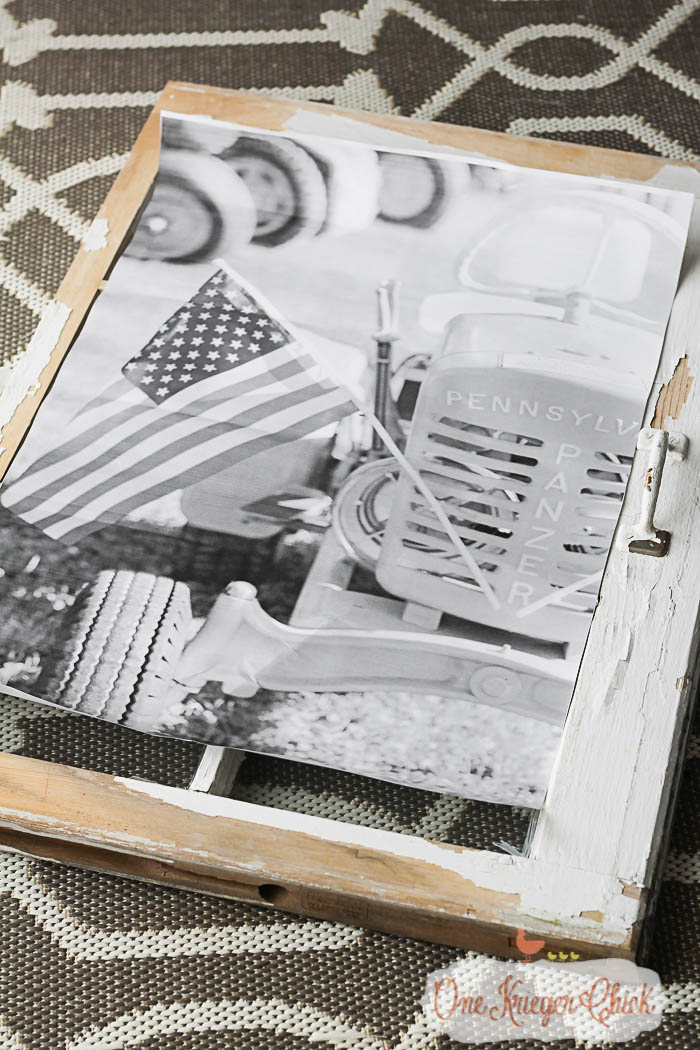
Here's what the print looks like in an 18 x 24 size.
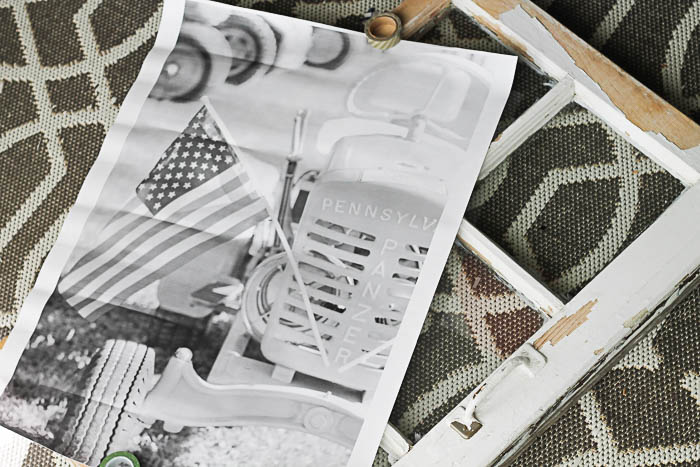
After trimming off all the white edges, the print fit perfectly in the window opening.
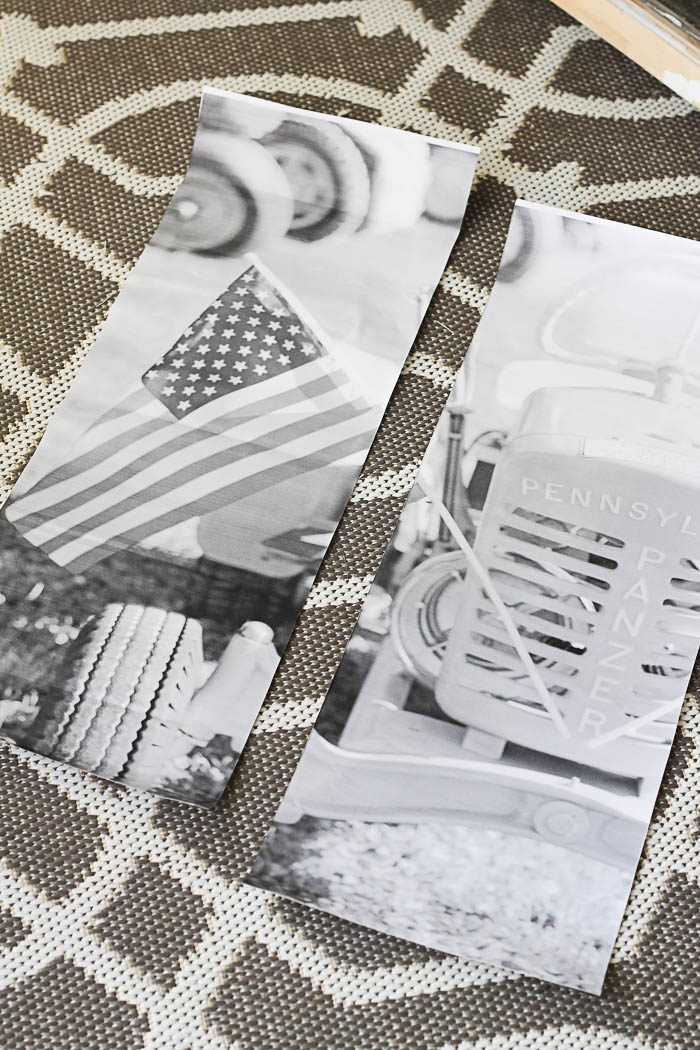
I could have left it like that, but wanted each window pane filled separately. I folded the print in half lengthwise.

You end up with two long strips.
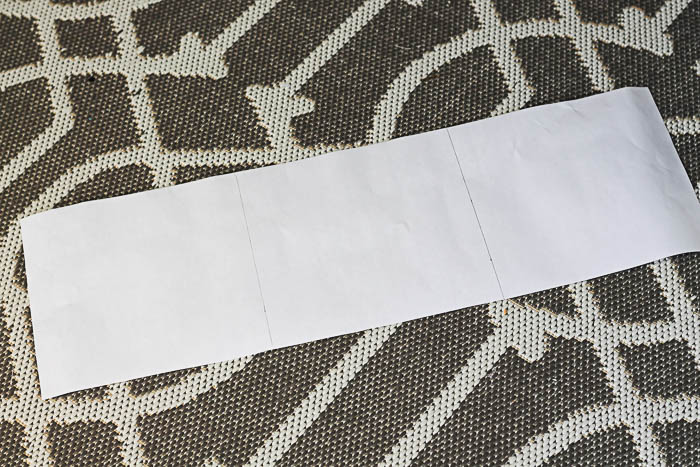
I divided each strip in three, drew a pencil line, then cut at each line.
Each piece fit back into the frame like a puzzle. If a piece is too large, just trim that edge down a bit. I had to trim a couple pieces along the outside edge.
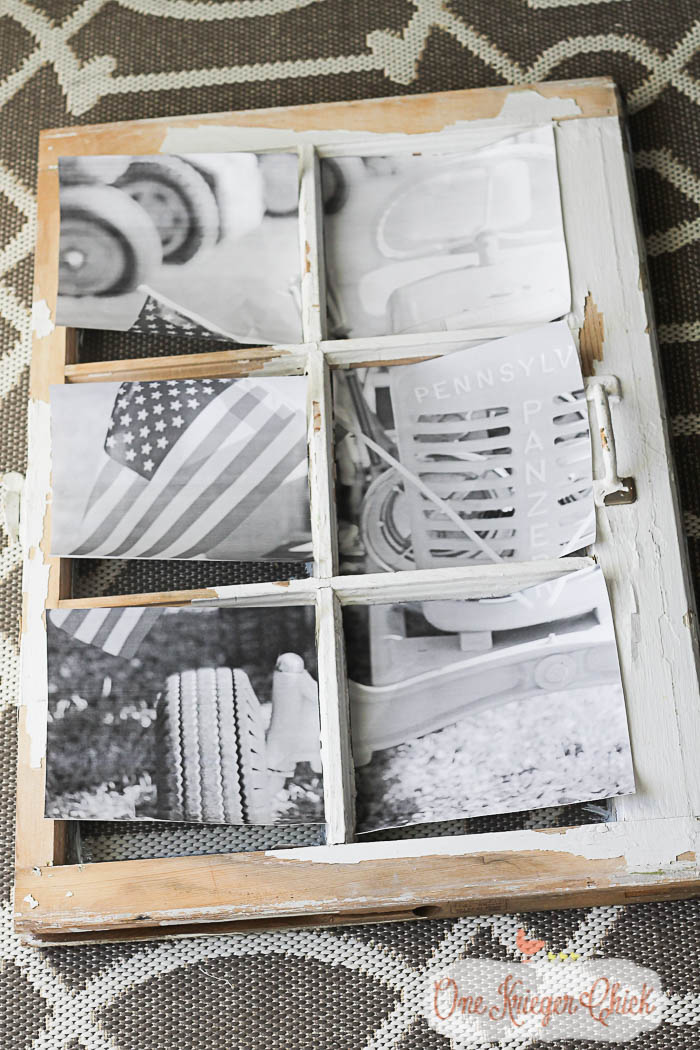
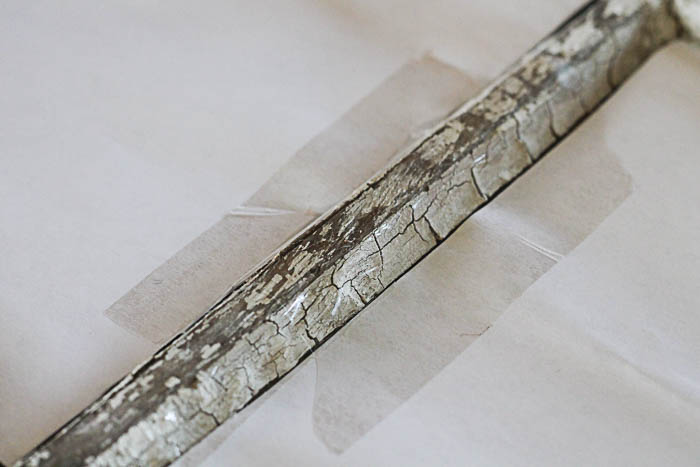
Turn the frame over and carefully place each piece in it's correct spot. Then, use clear packing tape to hold the paper pieces in place. I chose clear packing tape because the paper is pretty thin and you cannot see the tape through it.
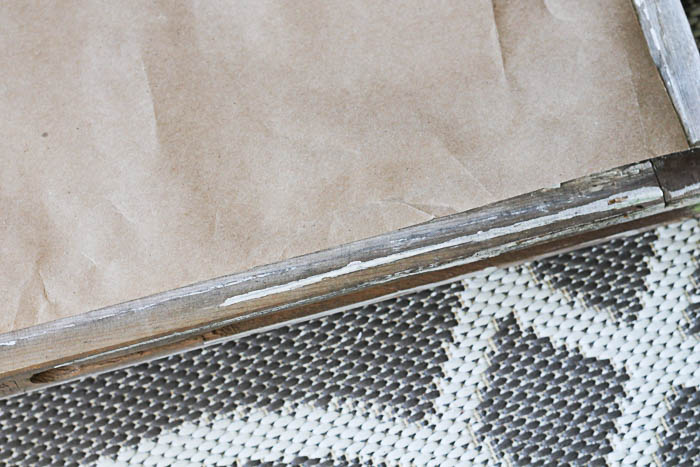
Once each piece of the print is taped into place, cut a piece of brown butcher paper or other light colored paper that will cover the entirety of the back of the frame. Use permanent double sided tape to adhere the paper all around the back of the window frame. This will help protect the print and keep any color or patterns from appearing through the print.
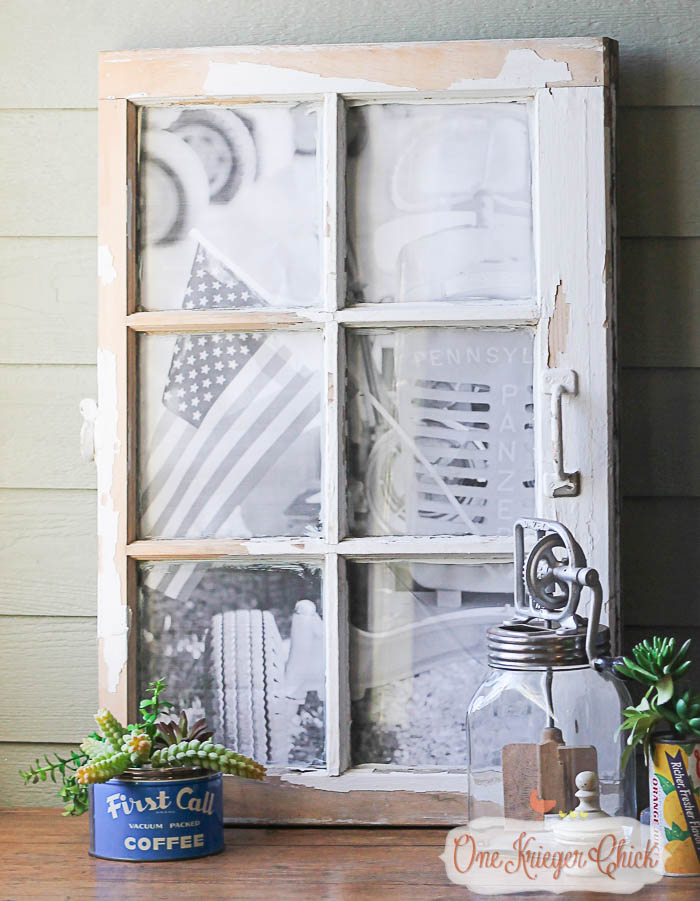
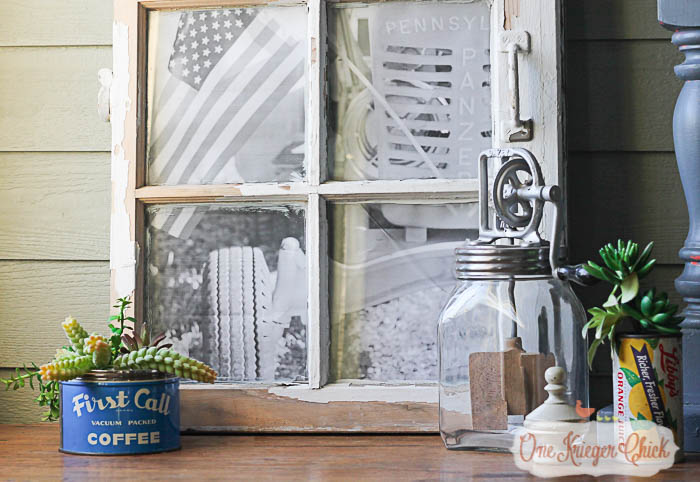
All finished! Add picture hangers and hang on a wall or lean on a table or mantel. So many possibilities to the print you can frame!
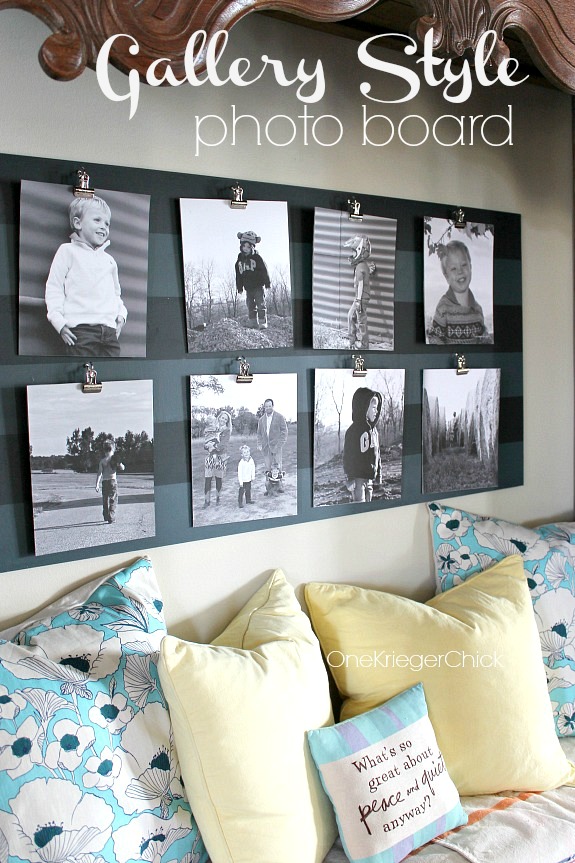
If you liked this idea, you may also like these other framing ideas...
Love to have you stop by OneKriegerChick sometime or connect through Facebook, Pinterest, Instagram or Twitter. Hope you're all staying warm and enjoying a fabulous start to 2016!


Ariean Krieger
Ariean is a former high school teacher turned stay at home Momma of three little boys. She enjoys finding good junk and transforming it into unique home decor...a cup of coffee and a great book...cooking and crafting with her boys and connecting with YOU! Ariean and her crazy crew live in the country outside of... Read more