By Chef Alli on June 5, 2018
Secrets to Grilling Cedar-Planked Salmon

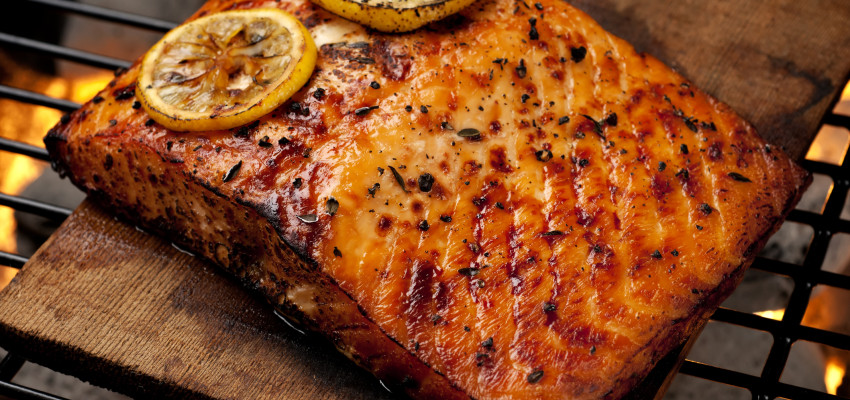
Grilling salmon on a cedar plank is simple. It’s an easy (not to mention elegant) way to infuse fish and seafood with smoky flavor, yielding succulent, tender fish that’s not soon forgotten. Here’s how to do it.
Find Your Cedar Planks
Cedar planks for grilling are sold at most cookware stores, as well as larger grocery stores and even hardware stores. Look for the planks that are sized for whole fillets, approximately 15” x 7” untreated cedar.
How to Do It
First, soak your cedar planks in water for at least one hour before use. If you happen to have more time for soaking, even better. Soaking the planks is what prevents them from burning on the grill or smoker. The moisture also helps create a more humid environment while the fish is cooking, keeping it moist and imparting more smoke flavor.
Grill the cedar planks and fish over indirect heat to prolong the life of the planks and to avoid excessive charring, covering the grill or smoker so the smoke can circulate around the fish.
You Can Re-Use Cedar Planks
If your cedar planks are not too charred or warped, wash them well with hot water (no soap) and rinse well. Place into a large plastic bag while still wet and then into the freezer for storage. You should be able to use them at least one more time for grilling salmon or other fish. Before using, thaw the planks overnight in the fridge.
Plan for Leftovers
We always plan to have leftover cedar-plank salmon by cooking extra. It’s great for creating easy summer meals. Simply reheat and serve in scrambled eggs, on toasted bagels, as a topping for a Caesar salad or even pan-fried salmon cakes.
Removing Pin Bones from Salmon Fillets
For the best salmon experience, I recommend always removing the floating pin bones that are often hidden in the salmon flesh. Because pin bones are slippery little suckers, you need a tool with a good grip for removing them. Yes, there are fancy fish tweezers available, but since I’m not exactly a “gadget girl,” I opt for using my needle-nose pliers – they work great.
- Lay the salmon fillet flat on a clean work surface. Run your fingers down the length of the fillet. If pin bones are present, you’ll feel their tips protruding. (Don’t count on seeing them. Always locate pin bones by touch.)
- As you locate a pin bone, slide your hand beneath the fillet, causing it to “arch its back” so the pin bone will protrude upward for you.
- Grab the end of the pin bone with the needle-nose pliers, then pull steadily and slowly, gently wiggling it a bit until it pulls free. Repeat with the remaining pin bones.


